Introduction to DIY Flooring Installation
Welcome, Magnolia homeowners! If you're considering sprucing up your living space with a new floor, you might be wondering if you can tackle the project yourself. With the right tools and guidance, DIY flooring installation can be a rewarding and cost-effective way to update your home's interior. In this guide, we'll walk you through essential tips and tricks to ensure your flooring project is a success in 2026.
Choosing the Right Flooring Material
The first step in any flooring project is selecting the right material. With advancements in technology, 2026 offers an array of options that cater to different tastes, budgets, and lifestyles. Here are some popular choices:
- Luxury Vinyl Plank (LVP): Known for its durability and water resistance, LVP is a top choice for kitchens and bathrooms.
- Laminate: Offers a wood-like appearance at a fraction of the cost, ideal for living rooms and bedrooms.
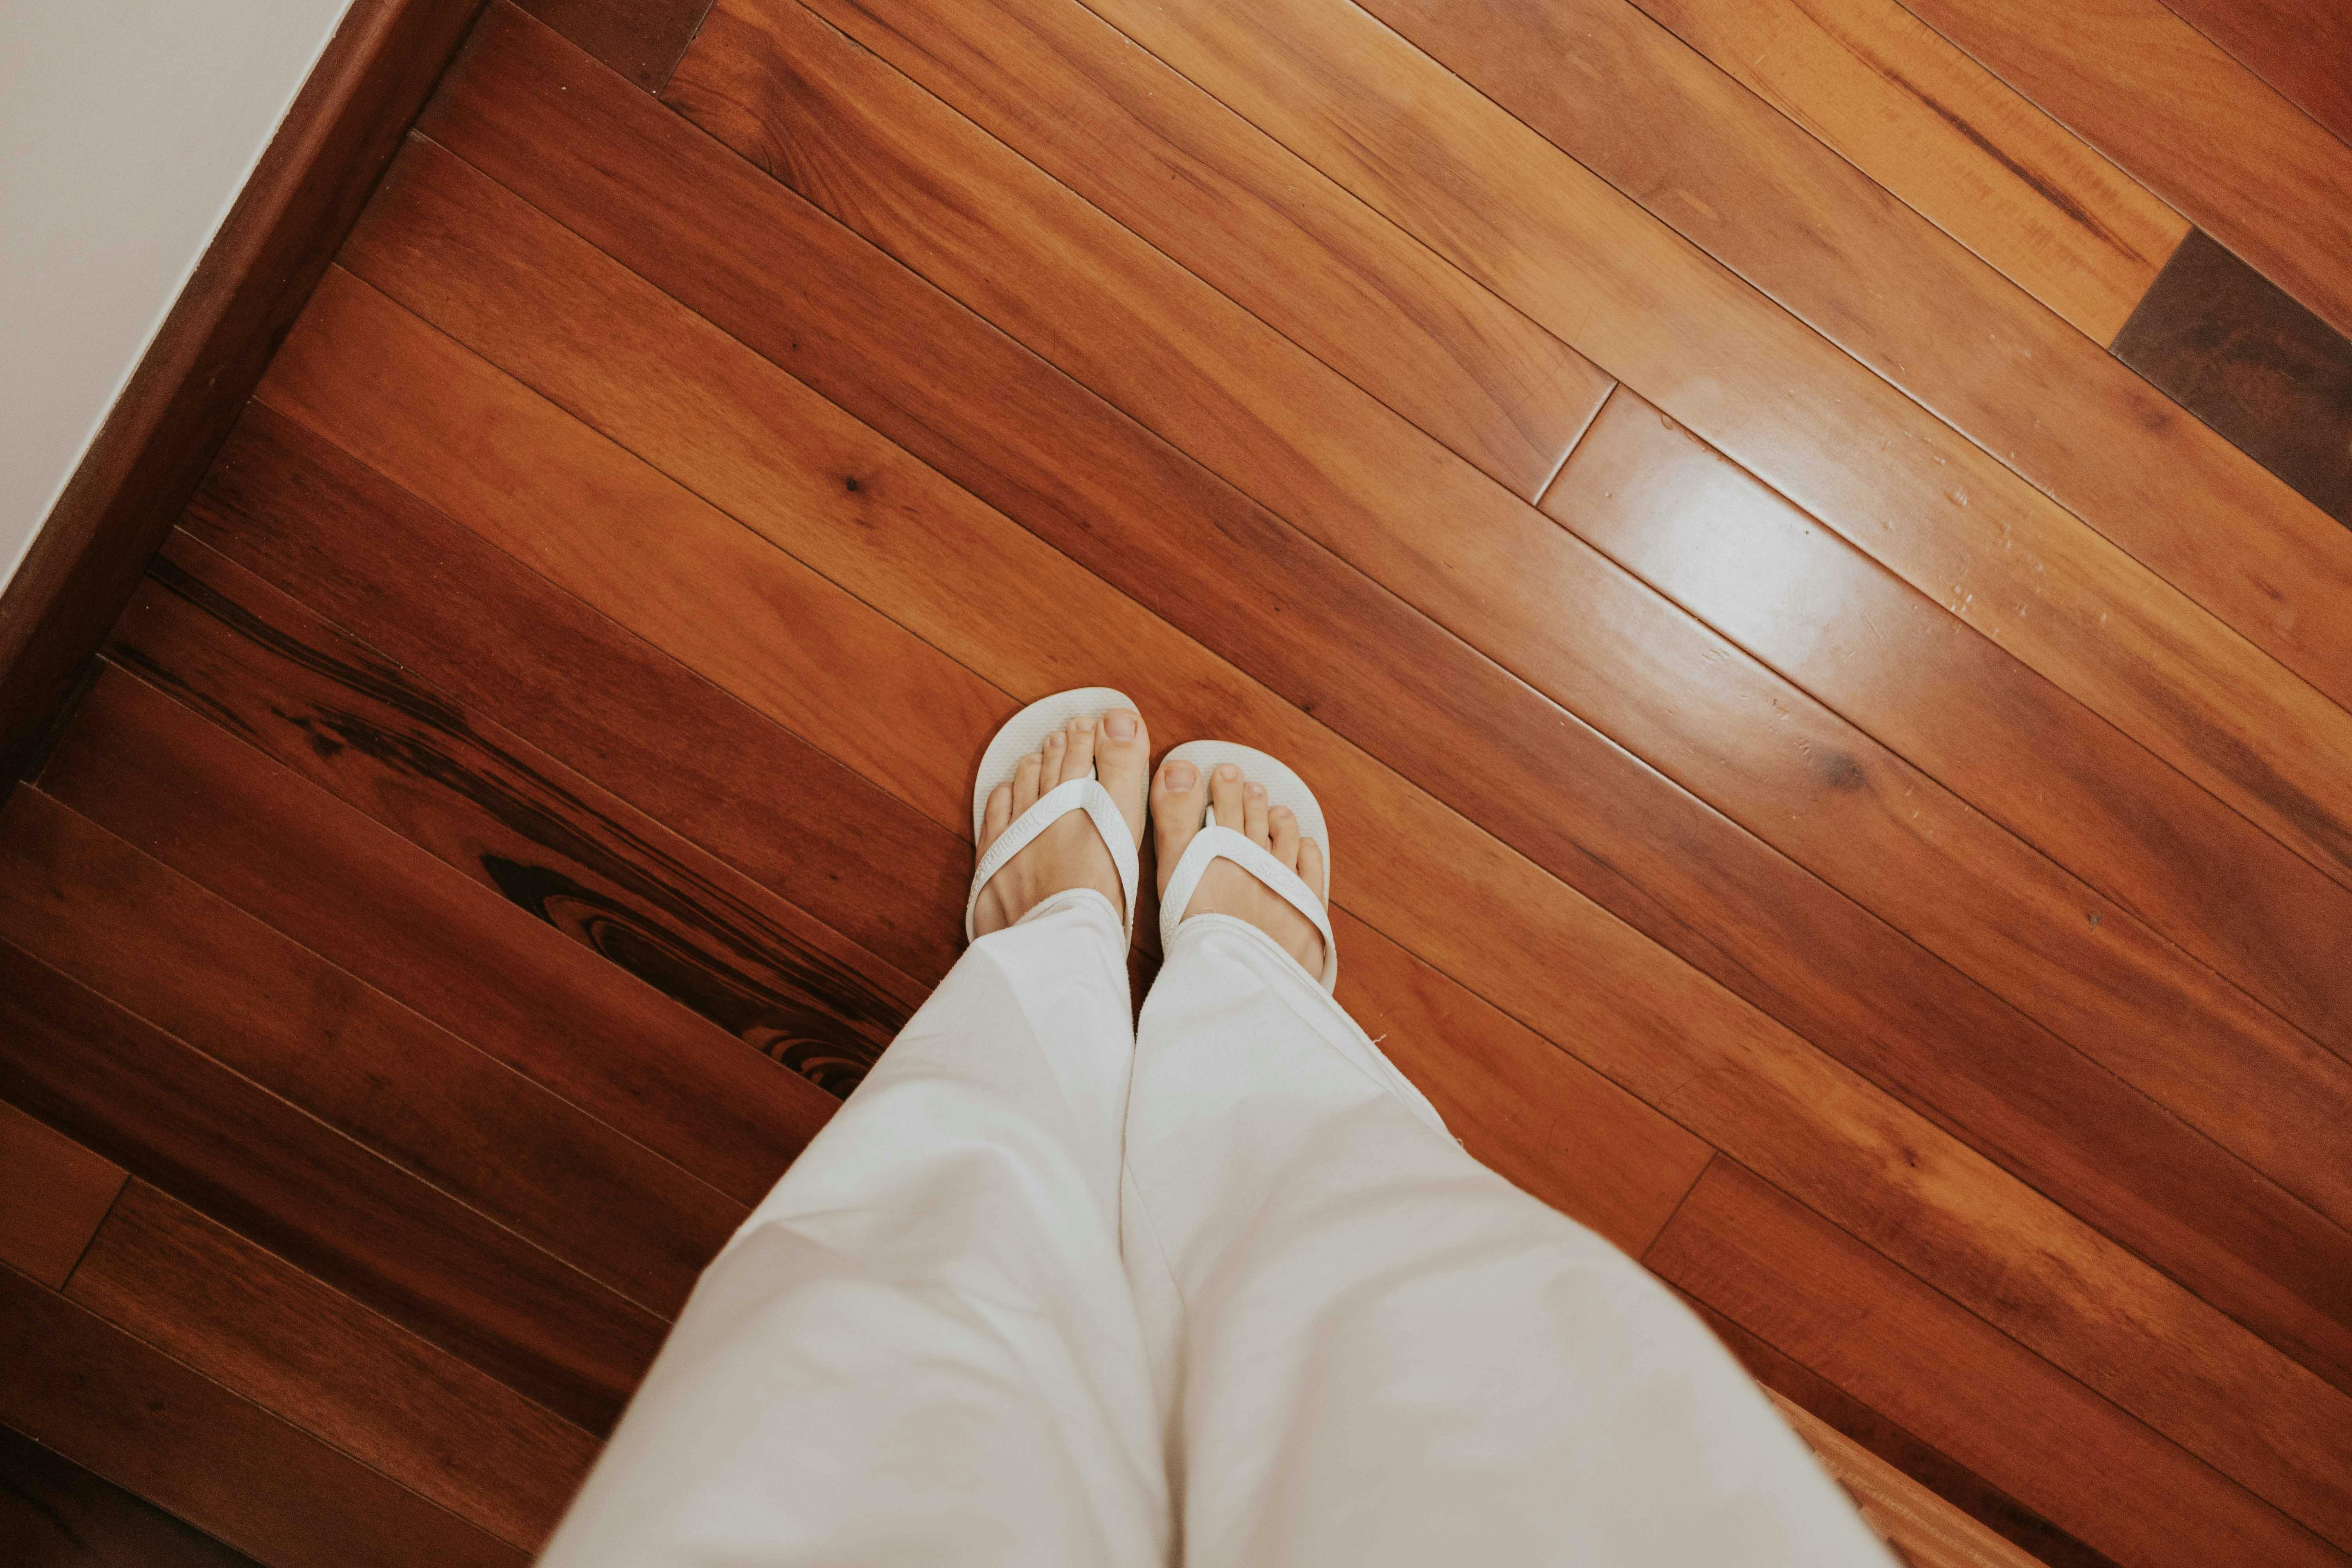
- Engineered Hardwood: Combines aesthetic appeal with enhanced stability, suitable for most areas.
- Carpet Tiles: Easy to install and replace, perfect for playrooms and basements.
Gathering Essential Tools and Materials
Before you start, make sure you have all the necessary tools and materials. Here's a handy checklist:
- Utility knife or laminate cutter
- Tape measure and carpenter's square
- Rubber mallet and tapping block
- Level and chalk line
- Spacers for expansion gaps
- Underlayment (if required for your flooring type)
- Adhesive or nails (if needed)
Preparing Your Subfloor
Proper subfloor preparation is crucial for a smooth installation process. Follow these steps to get your subfloor ready:
- Clean the Surface: Remove any debris, dust, and old adhesives. A clean surface ensures better adhesion and stability.
- Check for Levelness: Use a level to identify any high or low spots. Sand down high areas and fill low spots with a leveling compound.
- Moisture Testing: Ensure the subfloor is dry to prevent future moisture-related issues. Consider a moisture barrier if necessary.
Installing Your New Floor
Now that you're ready to install your floor, follow these steps to achieve a professional finish:
Step 1: Acclimate Your Flooring
Allow your flooring materials to acclimate to the room's temperature and humidity for at least 48 hours. This prevents expansion and contraction issues post-installation.
Step 2: Plan Your Layout
Determine the direction of your flooring. Typically, planks run parallel to the longest wall. Use a chalk line to mark your starting point.
Step 3: Start Laying the Floor
Begin in the corner of the room. Use spacers to maintain expansion gaps around the perimeter. Connect planks using the click-lock system or adhesive, depending on your material.
Step 4: Cut and Fit Planks
Measure and cut planks as needed, ensuring tight seams and a seamless look. Use a rubber mallet to secure the planks firmly.
Step 5: Finishing Touches
Once all planks are laid, remove spacers and install baseboards or molding to cover expansion gaps. Perform a final inspection to ensure everything is secure and aligned.
Maintaining Your New Floor
After installation, proper maintenance will keep your floors looking pristine. Here are some tips:
- Regular Cleaning: Sweep or vacuum regularly to prevent dirt and grit from scratching the surface.
- Use Proper Cleaners: Avoid harsh chemicals. Use manufacturer-recommended cleaners to maintain the finish.
- Protect from Moisture: Wipe up spills immediately and use rugs in high-moisture areas.
Conclusion
With these beginner-friendly tips, Magnolia homeowners can confidently embark on a DIY flooring project. Whether you're updating a single room or your entire home, the satisfaction of a job well done is unmatched. For those who prefer professional assistance, C-O-T Floors, LLC is here to help with expert installation services tailored to your needs. Happy flooring!